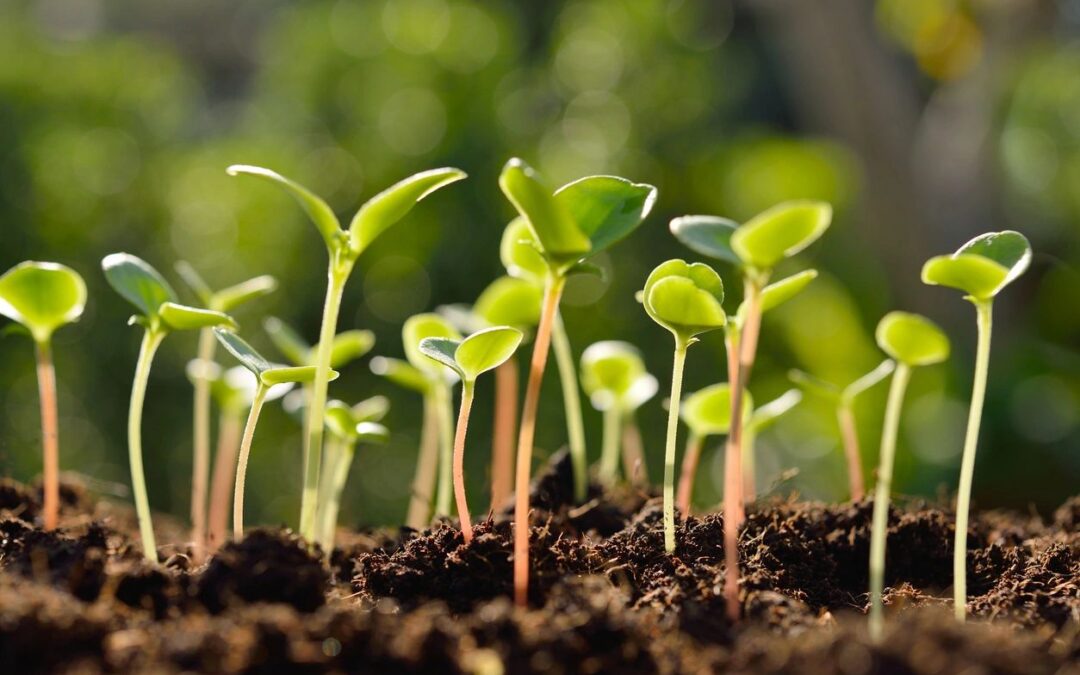
Sprouts are a powerhouse of nutrition, packed with vitamins, minerals, and enzymes that offer a multitude of health benefits. The good news is that you can easily grow your own sprouts at home, ensuring their freshness and quality. In this blog post, we’ll provide you with a comprehensive guide on how to sprout seeds, grains, and legumes right in your own kitchen. Let’s embark on a journey of homegrown nutrition and culinary delight!
Step 1: Choose Your Sprouting Method and Seeds
There are various methods to sprout seeds, grains, and legumes, including jar sprouting, tray sprouting, and bag sprouting. Select the method that best suits your preference and space availability. Popular sprouting seeds include alfalfa, broccoli, mung beans, lentils, and radish seeds. Ensure that the seeds you choose are organic, untreated, and specifically labeled for sprouting.
Step 2: Soak the Seeds
Measure the desired amount of seeds and rinse them thoroughly under cool running water. Place the seeds in a clean glass jar, tray, or sprouting bag, and cover them with ample water. Let the seeds soak for the recommended time, typically 8-12 hours or overnight. This step helps activate the sprouting process.
Step 3: Drain and Rinse
After the soaking period, drain the water from the seeds using a fine-mesh sieve or by carefully tilting the jar or tray. Rinse the seeds thoroughly with cool water to remove any residue or impurities. Ensure that all excess water is drained to prevent mold or bacterial growth.
Step 4: Begin the Sprouting Process
Depending on the method you’ve chosen, place the seeds in a suitable sprouting container. For jar sprouting, cover the mouth of the jar with a fine-mesh sprouting lid, or secure a piece of breathable cloth with a rubber band. If using a tray or bag, follow the specific instructions provided.
Step 5: Rinse and Drain Regularly
For the next several days, rinse the sprouts with cool water at least twice a day. Gently swirl the water around to ensure thorough rinsing. After rinsing, drain the water completely to avoid excess moisture. Proper rinsing and draining prevent spoilage and promote healthy sprout growth.
Step 6: Watch Them Grow
Observe the magic of nature as your sprouts begin to grow. Depending on the type of seeds, you will notice tiny sprouts emerging within a few days. Continue the rinsing and draining process until the sprouts reach your desired length. This typically takes 3-7 days, depending on the variety.
Step 7: Harvest and Store
Once your sprouts have reached the desired length, it’s time to harvest them. Rinse the sprouts one final time and gently remove any loose hulls or seed coats. Allow the sprouts to dry for a short period before transferring them to a clean, airtight container or a plastic bag lined with a paper towel. Store them in the refrigerator, where they can stay fresh for up to a week.
Enjoy the Fruits of Your Labor:
Congratulations! You have successfully grown your own fresh, nutritious sprouts. Incorporate them into salads, sandwiches, wraps, stir-fries, or smoothies. Experiment with different varieties and flavors to add a vibrant, nutrient-rich boost to your meals.
Growing your own sprouts is not only rewarding but also a cost-effective and sustainable way to incorporate fresh, living food into your diet. By following this step-by-step guide, you can experience the joy of sprouting and enjoy the bountiful benefits of homegrown nutrition

